
How to Create a Simple Cookie Consent Banner with CSS & JS

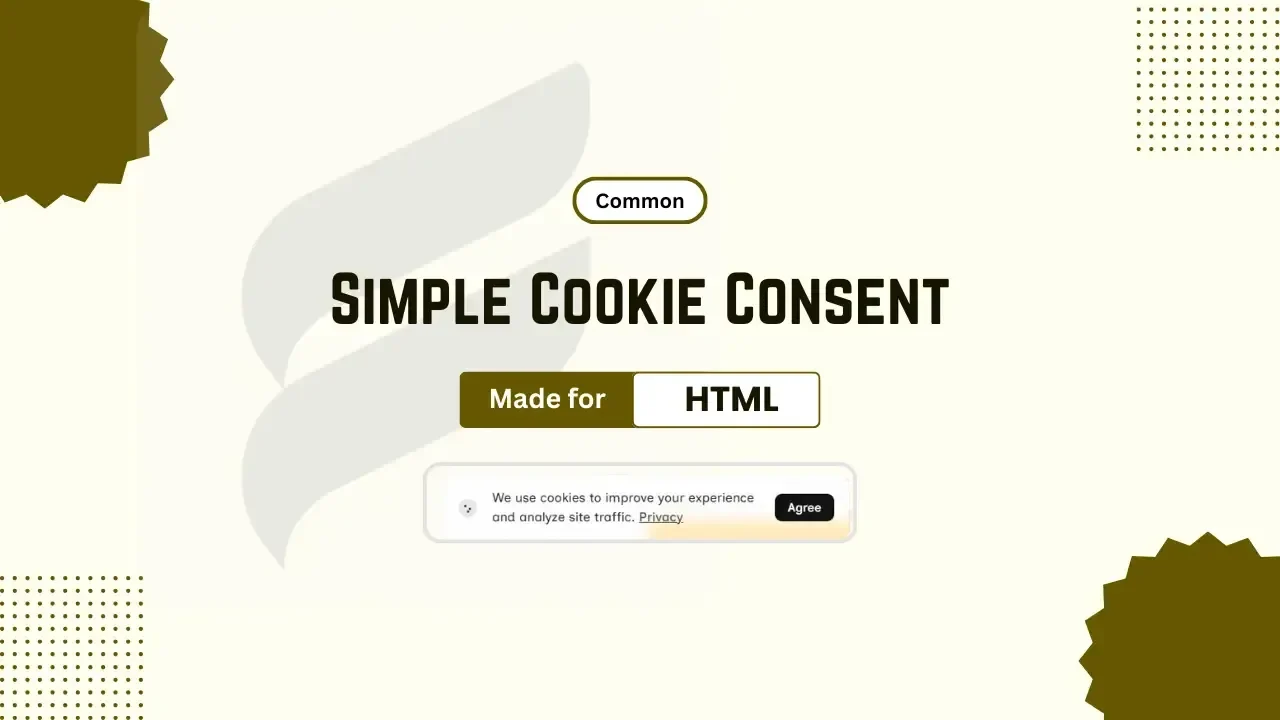
Adding cookie consent to your website is one of the important steps to gain trust from users and comply with privacy regulations. If you are running a blog, portfolio, downloading or a business website, cookie consent is must have element in your website to ensure better transparency between your website and its users. With a simple, responsive and modern design, it doesn’t make your website interface messy or ugly. It improves users’ trust by telling users for what purpose or why your website uses cookies.
In this tutorial, you will understand how to add a simple, responsive, modern cookie consent banner to your website just using pure CSS and JavaScript. This tutorial was also beginner-friendly, so it was easy to follow for anyone who just has basic knowledge about their website platform. This cookie consent banner does not show again and again to users; instead, it works like once a user agreed the the cookies banner message, it doesn’t show in there next visit until they clear their cookies.
In this post, we will share code for both a normal HTML-based website and also for a Blogger-based website, so you can easily implement this cookies consent banner regardless of your platform. By following this tutorial carefully, at the end of this tutorial you will get a simple, modern and beautiful looking cookies consent on your website. So, without wasting much time, let’s check how to implement this cookie consent banner on your website.
Understanding Cookie Consent
Cookie consent is a notification banner added to websites to inform users of that website about the use of cookies. This is an important banner need to displayin website to maintain transparency between the website and its users. Nowadays, many privacy regulations like GDPR and other laws require websites to display a cookie consent banner to inform the use of cookies on the website.
Even if your website is a small website, we still recommend adding a cookie consent banner to your website, as it also builds trust in users. Adding cookies consent to your website shows professionalism, and it also makes your website comply with basic privacy practices. If the cookie consent of your website also looks good, simple and modern, it also improves the user experience.
Features of this Cookie Consent Banner
- Only used lightweight CSS & JavaScript, no heavy code usage
- Doesn’t affect your website page speed.
- Uses modern, responsive & simple design
- Dark theme support
- Smooth animation
- Once agreed doesn’t show again until the user clears cookies
How to Add a Cookie Consent Banner to Your Website
First of all, you need to open your website’s .html file (e.g. index.html)
Adding CSS to the website
- Find the
</head>tag in your website .html file - Paste the following CSS just above the
</head>tag
<style>/* Simple Cookie Consent (src: coshix.in) */.coshix-consent{position:fixed;bottom:20px;left:20px;z-index:999999;pointer-events:none}.coshix-consent .notice-core{pointer-events:all;display:flex;align-items:center;gap:14px;padding:14px 16px;border-radius:14px;background:rgba(255,255,255,.75);color:#222;backdrop-filter:blur(8px) saturate(130%);-webkit-backdrop-filter:blur(8px);border:1px solid #e2e2e2;box-shadow:0 10px 30px rgba(0,0,0,.15);max-width:440px;transform:translateX(-120%);opacity:0}.coshix-consent .n-icon{display:flex;opacity:.9}.coshix-consent .n-text{flex:1;font-size:13.8px;line-height:1.5}.coshix-consent .n-text a{opacity:.8;text-decoration:underline!important;color:#222;font-weight:500}.coshix-consent .n-text a:hover{color:inherit}.coshix-consent .n-actions button{background:#111;color:#fff;border:none;padding:7px 14px;border-radius:8px;font-size:13px;font-weight:500;cursor:pointer;transition:transform .15s,box-shadow .2s,opacity .2s}.coshix-consent .n-actions button:hover{transform:translateY(-1px);box-shadow:0 4px 12px rgba(0,0,0,.2)}.coshix-consent .notice-core.showing{animation:.5s cubic-bezier(.2,.8,.3,1) forwards coshixSlide}@keyframes coshixSlide{to{transform:translateX(0);opacity:1}}@media (max-width:520px){.coshix-consent{left:0;right:0;bottom:0}.coshix-consent .notice-core{width:100%;max-width:100%;border-radius:0;padding:13px 14px;transform:translateY(100%);border-bottom:0!important;border-left:0!important;border-right:0!important}.coshix-consent .notice-core.showing{animation:.4s forwards coshixUp}@keyframes coshixUp{to{transform:translateY(0);opacity:1}}}
/* Dark Mode (Remove if no dark mode) */body.[ul:green]dark-mode[/ul] .coshix-consent .notice-core{background:rgba(20,20,20,.65);color:#e8e8e8;border:1px solid #444444;box-shadow:0 10px 30px rgba(0,0,0,.4)}body.[ul:green]dark-mode[/ul] .coshix-consent .n-text a{color:#fff}body.[ul:green]dark-mode[/ul] .coshix-consent .n-actions button{background:#fff;color:#111}</style>Adding HTML code to the website
- Find the
<body>tag - Paste the following HTML code just below it or anywhere inside the body tag
<!--======= Cookie Consent (src: coshix.in) ======-->
<div class="coshix-consent" id="noticeLayer">
  <div class="notice-core">
    <div class="n-icon">
      <!--Cookie Icon-->
      <svg viewBox="0 0 24 24" width="20" height="20"><circle cx="12" cy="12" r="10" fill="currentColor" opacity="0.12"/><circle cx="9" cy="10" r="1.3" fill="currentColor"/><circle cx="14" cy="13" r="1.3" fill="currentColor"/><circle cx="12" cy="16" r="1.2" fill="currentColor"/></svg>
    </div>
    <!-- Main text area -->
    <div class="n-text">We use cookies to improve your experience and analyze site traffic. <a href="/privacy-policy">Privacy</a></div>
    <!-- Action button -->
    <div class="n-actions"><button id="acceptNow">Agree</button></div></div>
</div>Adding JavaScript to the Website
- Find the
</body>tag - Paste the following JS just above it
<script>/* Simple Cookie Consent JS (src: coshix.in) */!function(){var e=document.getElementById("noticeLayer"),t=document.getElementById("acceptNow"),o=e.querySelector(".notice-core");document.body.appendChild(e),localStorage.getItem("coshixConsent_ok_v6")?e.style.display="none":setTimeout((function(){o.classList.add("showing")}),200),t.onclick=function(){localStorage.setItem("coshixConsent_ok_v6","1"),e.style.display="none"}}();</script>- Save your HTML file
How to Add a Cookie Consent Banner in Blogger
Opening “Edit HTML” in Blogger
- Go to your Blogger dashboard
- Click the “Themes” option from the sidebar
- Click the drop-down icon near the “Customize” button
- Click the “Edit HTML” option
Adding CSS in Blogger
- Find the
]]></b:skin> - Paste the following CSS just above it
/* Simple Cookie Consent (src: coshix.in) */.coshix-consent{position:fixed;bottom:20px;left:20px;z-index:999999;pointer-events:none}.coshix-consent .notice-core{pointer-events:all;display:flex;align-items:center;gap:14px;padding:14px 16px;border-radius:14px;background:rgba(255,255,255,.75);color:#222;backdrop-filter:blur(8px) saturate(130%);-webkit-backdrop-filter:blur(8px);border:1px solid #e2e2e2;box-shadow:0 10px 30px rgba(0,0,0,.15);max-width:440px;transform:translateX(-120%);opacity:0}.coshix-consent .n-icon{display:flex;opacity:.9}.coshix-consent .n-text{flex:1;font-size:13.8px;line-height:1.5}.coshix-consent .n-text a{opacity:.8;text-decoration:underline!important;color:#222;font-weight:500}.coshix-consent .n-text a:hover{color:inherit}.coshix-consent .n-actions button{background:#111;color:#fff;border:none;padding:7px 14px;border-radius:8px;font-size:13px;font-weight:500;cursor:pointer;transition:transform .15s,box-shadow .2s,opacity .2s}.coshix-consent .n-actions button:hover{transform:translateY(-1px);box-shadow:0 4px 12px rgba(0,0,0,.2)}.coshix-consent .notice-core.showing{animation:.5s cubic-bezier(.2,.8,.3,1) forwards coshixSlide}@keyframes coshixSlide{to{transform:translateX(0);opacity:1}}@media (max-width:520px){.coshix-consent{left:0;right:0;bottom:0}.coshix-consent .notice-core{width:100%;max-width:100%;border-radius:0;padding:13px 14px;transform:translateY(100%);border-bottom:0!important;border-left:0!important;border-right:0!important}.coshix-consent .notice-core.showing{animation:.4s forwards coshixUp}@keyframes coshixUp{to{transform:translateY(0);opacity:1}}}
/* Dark Mode (Remove if no dark mode) */body.[ul:green]dark-mode[/ul] .coshix-consent .notice-core{background:rgba(20,20,20,.65);color:#e8e8e8;border:1px solid #444444;box-shadow:0 10px 30px rgba(0,0,0,.4)}body.[ul:green]dark-mode[/ul] .coshix-consent .n-text a{color:#fff}body.[ul:green]dark-mode[/ul] .coshix-consent .n-actions button{background:#fff;color:#111}
Adding JavaScript in Blogger
- Find the
</body> - Paste the following JS just above it
<script>/*<![CDATA[*//* Simple Cookie Consent JS (src: coshix.in) */!function(){var e=document.getElementById("noticeLayer"),t=document.getElementById("acceptNow"),o=e.querySelector(".notice-core");document.body.appendChild(e),localStorage.getItem("coshixConsent_ok_v6")?e.style.display="none":setTimeout((function(){o.classList.add("showing")}),200),t.onclick=function(){localStorage.setItem("coshixConsent_ok_v6","1"),e.style.display="none"}}();/*]]>*/</script>Adding HTML code in Blogger
- Find the
<body> - Paste the following HTML code just below it
<!--======= Cookie Consent (src: coshix.in) ======-->
<div class="coshix-consent" id="noticeLayer">
  <div class="notice-core">
    <div class="n-icon">
      <!--Cookie Icon-->
      <svg viewBox="0 0 24 24" width="20" height="20"><circle cx="12" cy="12" r="10" fill="currentColor" opacity="0.12"/><circle cx="9" cy="10" r="1.3" fill="currentColor"/><circle cx="14" cy="13" r="1.3" fill="currentColor"/><circle cx="12" cy="16" r="1.2" fill="currentColor"/></svg>
    </div>
    <!-- Main text area -->
    <div class="n-text">We use cookies to improve your experience and analyze site traffic. <a href="/p/privacy-policy">Privacy</a></div>
    <!-- Action button -->
    <div class="n-actions"><button id="acceptNow">Agree</button></div></div>
</div>Cookie Consent Banner Preview
FAQ
What is a Cookie Consent Banner?
Is the Cookie Consent Banner required for every website?
Will adding a Cookie Consent Banner affect page speed?
Can I implement the Cookie Consent Banner on my website without using third-party plugins?
Conclusion
Adding Cookie Consent using lightweight CSS and JavaScript without depending on heavy plugins or third-party code is the smartest way to implement a cookie consent banner without affecting your page performance. Whether you are a beginner who is running their website in Blogger or in normal HTML, the steps provided here will be helpful for both.
Every user requires a fast-loading and useful website that also respects their privacy. Adding a cookie consent banner to your website improves trust and transparency between the website and its users. If you also know a little CSS and JavaScript, then, as it uses pure CSS and JavaScript, it becomes easy to customise the code as you like.
This small improvement can improve your website’s user experience and make your website more trustworthy. If you have any doubts related to this post, then don’t forget to drop a comment below. If you also like to add a table of contents in your Blogger website posts, then don’t forget to check the “Automatic TOC Guide” tutorial. Thanks for reading this post.
Comments